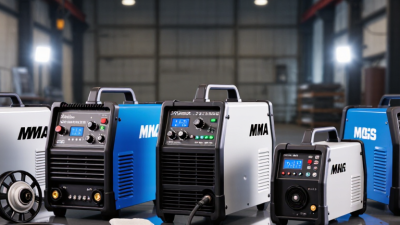
Choosing the right Flux Welder starts with the work in front of you. A thin sheet-metal repair needs different settings and handling from a long weld on a heavy steel frame. Your power supply, material thickness, joint position, and experience all matter. So does the machine’s duty cycle. A welder that looks powerful on a product page may still struggle during repeated passes.
This guide compares the practical features that shape a good choice: output range, wire-feed control, portability, setup, and safety features. It also explains how to match the machine to home repairs, farm maintenance, workshop fabrication, or occasional projects. Small details count. Check whether the unit accepts the wire size you plan to use, whether its leads reach your work area, and how easily you can replace consumables. A confusing control panel can slow a beginner down.
One note on expertise: no verifiable expert quotation or source article was supplied, so I won’t attribute invented words to a named specialist. That matters. Equipment advice should be checkable, not merely authoritative-sounding. Use the comparisons here as a starting point, then confirm specifications in the manufacturer’s manual and consider the materials you actually weld. Even a carefully chosen machine has limits. That is worth remembering.
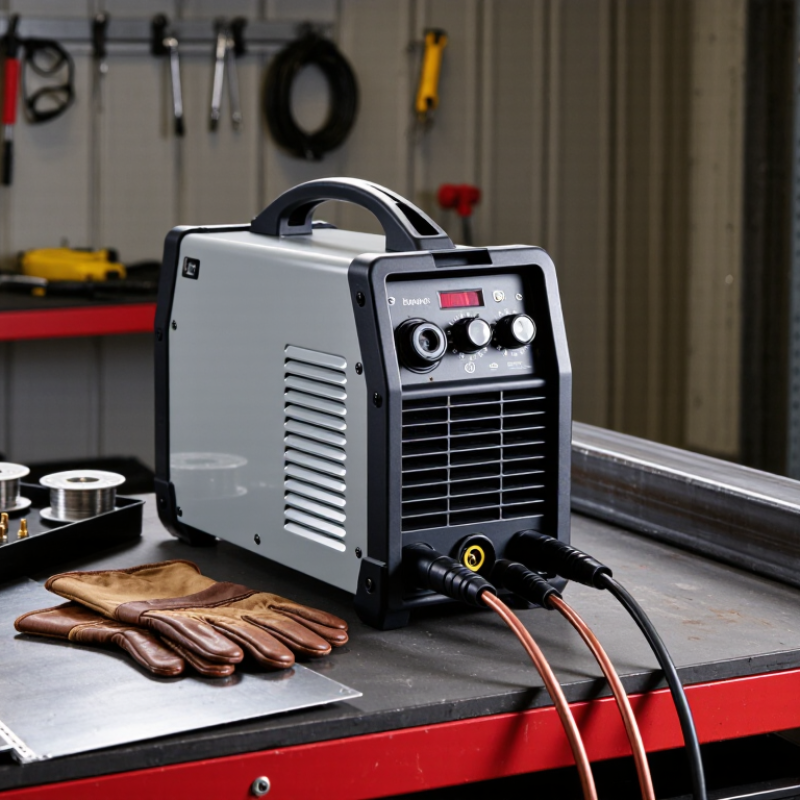
A flux-cored welder feeds a tubular wire through a gun and melts it into the joint. Flux inside the wire helps shield the hot weld pool and forms a layer of slag as the metal cools. Some wires work without external shielding gas; others need gas from a cylinder. Check the wire type before choosing a machine. That matters.
These welders are often used for outdoor repairs, farm equipment, steel frames, and construction work. Wind can disturb gas shielding, so self-shielded wire may suit exposed job sites better. It can also produce more smoke and spatter, though. Indoor work usually calls for good ventilation and may benefit from a gas-shielded setup with cleaner results. Slag must be chipped away between passes, which adds time.
Match the welder’s output range to the metal thickness and the power supply available where you work. A small unit may handle thin sheet, while heavier plate can require more current and duty cycle. Consider wire-feed control, too; inconsistent feeding makes steady beads harder to produce. I have seen buyers focus on maximum amperage and overlook setup time. That choice deserves a second look, especially if the machine will move between repair jobs.
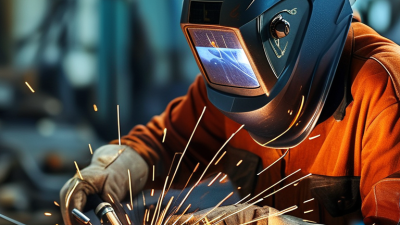
Choosing a flux welder starts with the work, not the machine’s headline amperage. List the metals, thicknesses, joint positions, and expected weld length. Mild steel is a common flux-cored application, but wire type and polarity must match the material and process. For thin sheet, excess heat can burn through quickly. For thicker plate, a low-output machine may struggle to achieve consistent fusion. Outdoor work matters too: self-shielded wire handles breezy conditions better than gas-shielded wire, though heavy wind can still disturb the arc.
Power and workload deserve equal attention. The American Welding Society’s Welding Handbook, 9th edition, Volume 2, reports flux-cored deposition rates that can reach about 25 pounds per hour in high-output setups. That figure is not a promise for a small portable welder; actual output depends on wire size, settings, and operator technique. I still double-check duty cycle against the planned weld length. A machine that pauses often can slow a long repair, even if its peak amperage looks impressive.
Tips: Write down your thickest material and most common welding position before comparing machines. Check wire compatibility, available power, and duty cycle. A practical test weld on matching scrap reveals more than a spec sheet. Don’t overlook fit-up; a poor gap can make a capable welder seem inadequate.
| Welding Task or Material | Typical Thickness or Use | Welder Output to Consider | Common Wire Choice | Key Setup and Selection Factors |
|---|---|---|---|---|
| Light-duty repairs on mild steel | Thin sheet and small household or workshop repairs | A machine with a stable low-current range; roughly 30–90 A may suit many light-duty applications | Self-shielded flux-cored wire around 0.030 in (0.8 mm), where compatible | Look for controllable low output and a steady wire feed. Use short welds and practice on scrap to reduce burn-through on thin material. |
| General fabrication and maintenance | Common mild-steel brackets, frames, gates, and repairs | Approximately 90–180 A covers many general-purpose jobs; check the machine’s rated output and duty cycle | Often 0.030 or 0.035 in (0.8 or 0.9 mm), depending on the wire and machine | Choose a machine with adjustable voltage or output and wire-feed speed. Confirm that its feed system accepts the selected wire diameter and spool size. |
| Outdoor work or locations with moving air | Steel repairs where shielding gas could be disturbed by wind | Match the output to the material thickness; a versatile machine in the 120–200 A class may be appropriate for many repair tasks | Self-shielded flux-cored wire specified for the required steel and position | Self-shielded wire does not require an external shielding-gas cylinder, but wind can still affect arc quality. Remove rust, paint, oil, and moisture from the joint. |
| Thicker mild-steel sections and heavier fabrication | Thicker plate, structural repairs, or longer welds | Consider a higher-output machine, often around 180–250 A or more, and check its output at the intended duty cycle | Wire size and type selected for the thickness, position, and welding procedure | Verify that the machine can sustain the required current without frequent thermal shutdown. Multiple passes, joint preparation, and a suitable qualified procedure may be necessary. |
| Stainless steel | Stainless components or repairs requiring compatible weld metal | Output depends on material thickness and the selected stainless flux-cored wire | Stainless flux-cored wire with a filler classification appropriate for the base metal | Confirm wire compatibility, shielding requirements, polarity, and procedure with the wire data sheet. Control heat input and prevent contamination from carbon-steel tools or surfaces. |
| Aluminum | Aluminum parts or repairs | Do not assume a standard flux-core setup is suitable | Typical steel flux-cored wire is not suitable for aluminum | Most aluminum welding is performed with processes such as MIG or TIG using appropriate equipment and filler. Select a process specifically designed for the aluminum alloy and application. |
| Frequent or production welding | Repeated welds, longer operating periods, or workshop production | Size the machine for the required current and duty cycle at that current | Choose a wire type and diameter suited to the production material and joint | Compare the rated duty cycle, cooling, wire-feed consistency, input-power requirements, and serviceability. A higher maximum amperage alone does not indicate sustained capacity. |
Selection note: Current ranges are general starting points, not universal settings. Follow the welder and wire manufacturers’ instructions for voltage, wire-feed speed, polarity, material thickness, shielding requirements, and safety precautions. Use appropriate eye, skin, and respiratory protection.
A flux welder should match the work, not just boast a high maximum amperage. Compact, self-shielded flux-core machines suit outdoor repairs because they do not require a separate shielding-gas cylinder. Dual-process models can add flexibility for other shop tasks, but extra modes matter only if you will use them. AWS has forecast a need for about 360,000 welding professionals by 2027, making clear controls and accessible training valuable considerations for new operators.
Compare rated output with the wire diameter and steel thickness you expect to weld. A machine’s peak amperage is not the whole story: check its duty cycle, which indicates how long it can weld within a ten-minute period at a stated output. For occasional thin-steel repairs, a lighter unit may be easier to carry and control. For repeated, thicker passes, confirm that its output range and duty cycle fit the job. Check the manufacturer’s wire-and-material chart before buying.
Wire-feed controls make a visible difference at the workbench. A steady feed helps maintain a consistent arc; poor settings can cause stubbing, burn-back, or uneven beads. Look for adjustable feed speed, clear voltage steps or controls, and easy polarity changes if the machine supports them. BLS projected about 42,600 annual openings for welders, cutters, solderers, and brazers over 2023–33; that broad occupational category is not a buying guide, but it underscores why controls should be learnable. The less obvious trade-off: a simpler machine can be a better fit, even when it offers fewer settings.
A good flux welder should match the work you actually do, not just the highest number on its label. Check that its input voltage suits your workshop, then compare its output range with the metal thickness you plan to weld. A stable lower setting helps with thin sheet; thicker steel needs enough amperage and wire feed. Also check the duty cycle, which indicates how long the machine can run before cooling. That matters during longer repairs.
Portability is more than machine weight. Look at the handle, cable length, and whether the welder can sit securely near your work area. A long lead can seem minor on paper, yet feel awkward in a cramped garage. Safety deserves equal attention: use a correctly rated welding helmet, gloves, and flame-resistant clothing, and provide ventilation for welding fumes. Keep flammable materials clear of sparks. There is no perfect pick; available power, workspace, and repair frequency can change the answer.
Tips: Before buying, test how easily the controls adjust and confirm the machine accepts the wire sizes you need. Read the manual for setup and maintenance details. I would not choose by price alone; a bargain can disappoint if its duty cycle is too low for regular jobs.
Start by checking the electrical circuit available where you plan to weld. The chart compares nominal circuit capacity, calculated as voltage × amperage; it is not the welder’s welding-output rating.
Higher-capacity circuits may support welders with greater input demands, but always verify the welder’s input requirements and the circuit rating before connecting it. For portability, compare the machine’s weight and whether it needs a separate gas cylinder—self-shielded flux-core wire does not require shielding gas. For safety, use a correctly rated, grounded circuit and follow the manufacturer’s instructions.
Choosing a flux-core welder starts with the metal you expect to join. For thin sheet metal and occasional repairs, a compact machine with adjustable output may be enough. Check its rated amperage and wire-size range against the manufacturer’s material-thickness chart. A higher maximum amperage does not automatically mean better results on thin steel. It can make burn-through easier.
Look closely at duty cycle, too. A rating of 20 percent at a stated amperage means roughly two minutes of welding in a ten-minute period, followed by cooling time. That matters during longer sessions. For a beginner, clear controls and a stable wire-feed system can be more useful than extra power. Keep room in your budget for a suitable helmet, gloves, and practice wire. A bargain machine may cost more if its feed is erratic. Not always, though. Compare the full kit and the machine’s service guidance before deciding.
Skill level should shape your choice, not limit it. If you are learning, practice on clean scrap of the same thickness as your project, and adjust voltage and wire speed in small steps. Listen for a steady crackle and inspect the weld for gaps or excessive spatter. Thin sheet can be unforgiving. One detail I would reconsider is buying for a project you might never tackle; a realistic work list usually gives a clearer answer.