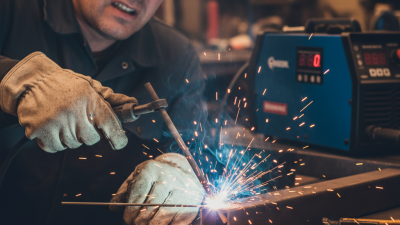
Choosing a China Best Stick Welder does not guarantee smooth welding every time. Even dependable equipment can suffer from a sticking electrode, especially during startup. The problem usually appears when the rod touches the workpiece and refuses to release. The arc goes out. The electrode becomes firmly attached. This frustrating condition is known as Stick Welder Sticking.
In practical workshop use, I have seen this happen with damp electrodes, weak grounding, low amperage, and incorrect arc length. A rusty plate can make the situation worse. So can an undersized extension cable or a loose work clamp. These details matter. They often explain why a welder performs well one day and poorly the next. Checking the electrode holder, cable connections, and ground clamp should be part of the diagnosis. Always follow the machine manufacturer’s instructions and wear proper eye, hand, and body protection.
The solution is rarely just “turn up the current.” That advice can create excessive spatter, undercutting, or a damaged weld. A better approach compares the rod diameter, material thickness, polarity, and recommended amperage. Dry storage also matters. I must admit that even experienced operators sometimes blame the machine too quickly. I have made that mistake myself. Careful testing reveals more than guesswork. This guide examines the common causes of Stick Welder Sticking and explains practical ways to restore a stable arc. It also identifies warning signs that may require inspection by a qualified technician.
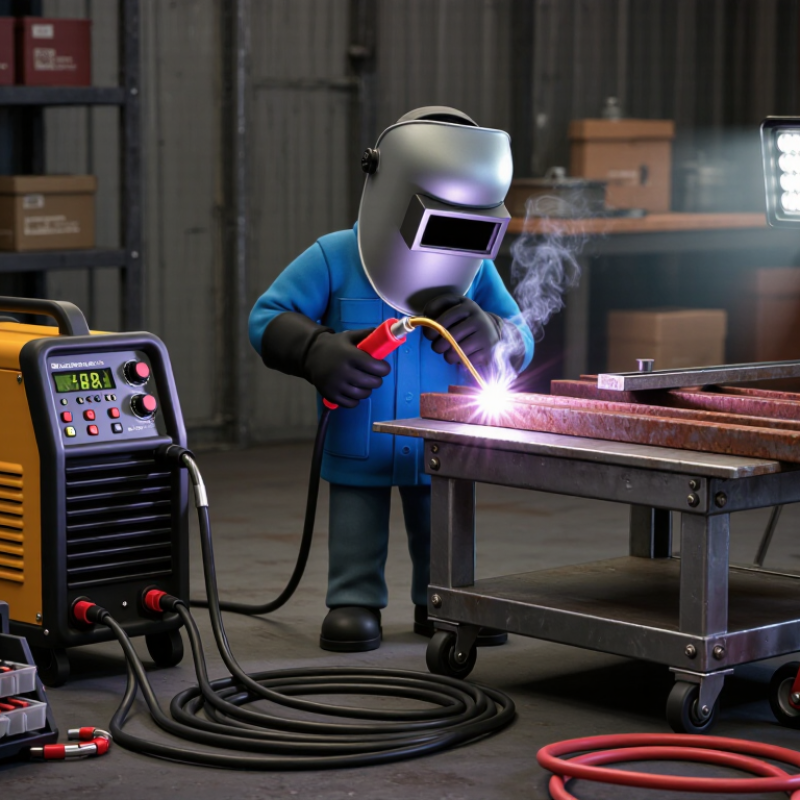
China Best Stick Welder: Why Is My Stick Welder Sticking?
A stick welding electrode usually sticks when the arc cannot maintain enough heat. Low amperage is the most common cause, especially on thick steel or during cold starts. A weak ground connection can create the same symptom. Check for paint, rust, or grease beneath the work clamp. The electrode may also drag when the arc length becomes too short. Hold a small, steady gap, close to the electrode diameter. Incorrect polarity, damp electrodes, and a dirty work surface can also make starting difficult. I have seen experienced operators blame the machine too quickly. That diagnosis is not always right.
Tips: Set the amperage within the electrode manufacturer’s recommended range, then adjust slightly for the joint. Strike the rod like a match, lift briefly, and keep your hand moving steadily. Store electrodes in a dry container, especially in humid workshops. Replace damaged leads and tighten loose connections before welding. If sticking continues, test on clean scrap steel. This separates technique problems from equipment problems. Watch the weld puddle, not only the arc. A small change in angle can help. Still, I sometimes overlook the work clamp when troubleshooting, and that simple mistake wastes time. Stop welding if cables become hot or insulation is damaged. A qualified technician should inspect persistent electrical faults.
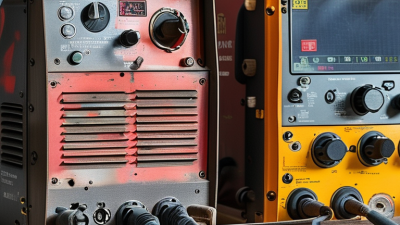
A stick electrode commonly sticks when the welding current is too low for its diameter, the arc length is too short, or the workpiece and electrode are contaminated. The chart shows typical current ranges for E6013 electrodes; selecting a current below the lower end can make arc starting and arc stability more difficult.
Actual settings vary with welding position, joint type, polarity, electrode condition, and machine characteristics.
China Best Stick Welder: Why Is My Stick Welder Sticking?
How Incorrect Amperage Leads to Electrode Sticking
When a stick electrode sticks, incorrect amperage is often the first thing to inspect. A setting below the electrode’s working range cannot maintain a stable arc. The rod touches the workpiece, cools quickly, and freezes in place. I have seen this happen frequently with damp rods and thick steel. The problem can feel mechanical, but the heat may simply be insufficient. Check the electrode diameter and its recommended amperage range. A small rod needs less current than a larger one.
Excessive amperage creates a different problem. The arc becomes harsh, the coating may burn unevenly, and the weld pool can become difficult to control. Lowering the current slightly may improve starts and reduce spatter. However, every machine and joint behaves differently. My first setting is not always correct. That is worth admitting. Clean the metal, shorten the arc, and adjust the amperage in small steps. Watch the arc sound and the bead shape.
Tips: Begin near the electrode manufacturer’s middle amperage recommendation. Test on scrap steel before welding the joint. If the rod still sticks, check the electrode holder, work clamp, cable connections, and moisture exposure. Keep protective equipment on, and follow the welder’s operating instructions.
A stick welder may keep sticking when the arc length becomes too short. Hold the electrode about one electrode diameter above the workpiece. This small gap keeps the arc hot and stable. A long arc sounds harsh and produces more spatter. It can also create a wide, shallow bead. A short arc often freezes the electrode to the steel. Tap the rod lightly, then lift it quickly to restart the arc.
Electrode angle matters just as much. Drag the electrode at roughly 10 to 15 degrees from vertical, following the direction of travel. Keep the angle steady as you move. Too much tilt pushes the molten metal ahead of the arc. The bead may become uneven, and slag can become trapped. For a fillet weld, aim the electrode toward the joint center, usually near a 45-degree work angle. Watch the puddle, not only the rod tip.
I once corrected sticking by increasing the current too much. The arc improved, but the edge began to undercut. That was not a real fix. A better adjustment uses small changes in arc length, travel speed, and angle. Clean rusty scale and paint from the contact area. Ground connection matters too. When the rod sticks, do not force it sideways. Break contact, inspect the tip, and try again with a shorter, controlled arc. Even experienced welders occasionally misjudge the gap.
A stick welder usually sticks when the arc cannot stay hot and stable. In my workshop experience, low amperage causes this problem most often. A long arc, weak ground connection, or damp electrode can make it worse. Inspect the holder and cables before changing settings. Safety matters: wear a suitable helmet, gloves, protective clothing, and ensure good ventilation.
Begin by cleaning the workpiece until bright metal appears. Remove rust, paint, oil, and loose scale. Clamp the ground firmly to clean steel. Set the amperage near the electrode maker’s recommended range, then adjust in small steps. Keep the electrode angle around 15 degrees from vertical. Drag it gently, using a short arc about the electrode’s core diameter.
If the rod touches the plate, lift it quickly and restart. Do not twist it forcefully. That can damage the coating and create an unstable arc. Store electrodes in a dry container, because moisture may cause difficult starts and excess spatter. I once blamed the machine, but the real issue was a loose ground clamp. Check the simple parts first. If sticking continues, test another electrode and inspect the power supply. A brief pause helps, though beginners often rush the restart.
Step-by-Step Ways to Stop a Stick Electrode from Sticking to the Workpiece
| Step | Possible Cause | What to Check | Corrective Action | Typical Guidance | Risk Level |
|---|---|---|---|---|---|
| 1 | Welding current is too low | The arc starts slowly, the electrode goes dark, and the rod freezes immediately after touching the workpiece. | Increase the amperage gradually until the arc starts easily and remains stable. Avoid making large adjustments at once. | Use the electrode manufacturer's recommended amperage range as the primary reference. | Medium |
| 2 | Incorrect electrode diameter | A large-diameter rod is being used on thin material or with a low-output welding power source. | Select a smaller electrode that matches the material thickness and available welding current. | Small electrodes generally require less current than large electrodes. | Low |
| 3 | Damp or moisture-damaged electrodes | The coating looks damaged, cracked, swollen, or chalky; the arc is unstable and produces excessive spatter. | Replace visibly damaged rods. Store electrodes in a dry, sealed container and follow the storage and rebaking instructions for that electrode type. | Do not use an electrode if its coating has separated from the core wire. | High |
| 4 | Poor workpiece contact | The work clamp is loose, attached to rust, paint, scale, or a contaminated surface. | Attach the work clamp firmly to clean, bare metal. Remove surface contamination near the welding area. | The return path should be short, secure, and able to carry the welding current. | High |
| 5 | Dirty or oxidized workpiece | Oil, paint, rust, mill scale, moisture, or galvanized coating is present where the arc is being started. | Clean the joint area with an appropriate mechanical method. Remove flammable residues before striking an arc. | Clean metal normally provides easier arc starting and a more stable arc. | High |
| 6 | Arc length is too short | The electrode is held against the workpiece or only lifted a very small distance after contact. | Tap or scratch the electrode to start the arc, then lift it slightly and maintain a short, consistent arc. | A practical starting point is an arc length close to the electrode core diameter, then adjust for the electrode type. | Medium |
| 7 | Poor starting technique | The rod is pressed into the metal instead of being lifted immediately after the arc starts. | Use a quick tap or scratch motion, lift the rod promptly, and maintain steady travel without forcing it into the puddle. | Practice starts on clean scrap metal before welding the final joint. | Low |
| 8 | Wrong polarity or machine mode | The electrode type requires a polarity that does not match the welding machine connection or the selected output mode. | Check the electrode data sheet and connect the electrode holder and work lead according to the specified polarity. | Some electrodes use direct current electrode positive, direct current electrode negative, or alternating current. | Medium |
| 9 | Long or undersized welding cables | The cables become hot, the arc weakens at a distance, or the machine output appears unstable. | Inspect cable connections, keep leads as short as practical, and use cable sizes suitable for the welding current and duty cycle. | Loose or undersized connections can cause voltage drop and poor arc starting. | High |
| 10 | Low input voltage or overloaded power source | The problem occurs when other high-load equipment is operating or when the welder is used near its maximum output for long periods. | Use a suitable power supply, avoid overloaded circuits, and allow the welder to cool when its thermal protection activates. | Verify the machine's required input voltage and duty-cycle rating. | High |
| 11 | Incorrect travel speed or electrode angle | The electrode is dragged too slowly, pushed into the molten pool, or held at an inconsistent angle. | Maintain a steady travel speed and a consistent work angle. Keep the electrode tip ahead of the weld puddle without burying it. | For many fillet welds, a work angle near 45 degrees is a useful starting point; joint geometry may require adjustment. | Low |
| 12 | Electrode holder or connection fault | The holder jaws are worn, the cable lug is loose, or the connection becomes hot during welding. | Stop welding, disconnect power, inspect the holder and terminals, and repair or replace damaged components before continuing. | Connections should be clean, tight, and free from damaged insulation. | High |
Safety reminder: Turn off and isolate the welding power source before inspecting cables, terminals, or the electrode holder. Wear a suitable welding helmet, flame-resistant clothing, gloves, protective footwear, and proper ventilation equipment. Always follow the welding machine and electrode manufacturer's instructions.
A sticking electrode often points to weak current or poor contact. Before changing settings, switch off the welder and inspect the electrode. Its coating should be dry, firm, and free from cracks. Damp rods can start poorly and cling to the workpiece. Store them in a sealed, dry container, following the electrode maker’s instructions. I once blamed the machine, but moisture was the real problem.
Check the welding cable from end to end. Look for cuts, burned insulation, loose terminals, or unusual heat near the connectors. A damaged cable can reduce arc stability and create a serious shock hazard. Confirm the electrode holder grips tightly. Then inspect the ground cable and clamp. Remove paint, rust, oil, and heavy scale where the clamp touches clean metal. A weak ground may make the arc sputter or stop.
Keep the work lead as short and straight as practical. Confirm the polarity matches the electrode requirements. If the rod still sticks, increase amperage slightly within the recommended range. Do not compensate with excessive current. It can overheat the joint and damage the electrode coating. Maintain a short, steady arc, about the electrode’s diameter. Small adjustments matter. My own mistake was moving the rod too slowly while repeatedly changing the current. A calm, single-variable check usually reveals the fault faster.